One-Pan Ground Beef Skillet (Carnivore Comfort in 20 Minutes)
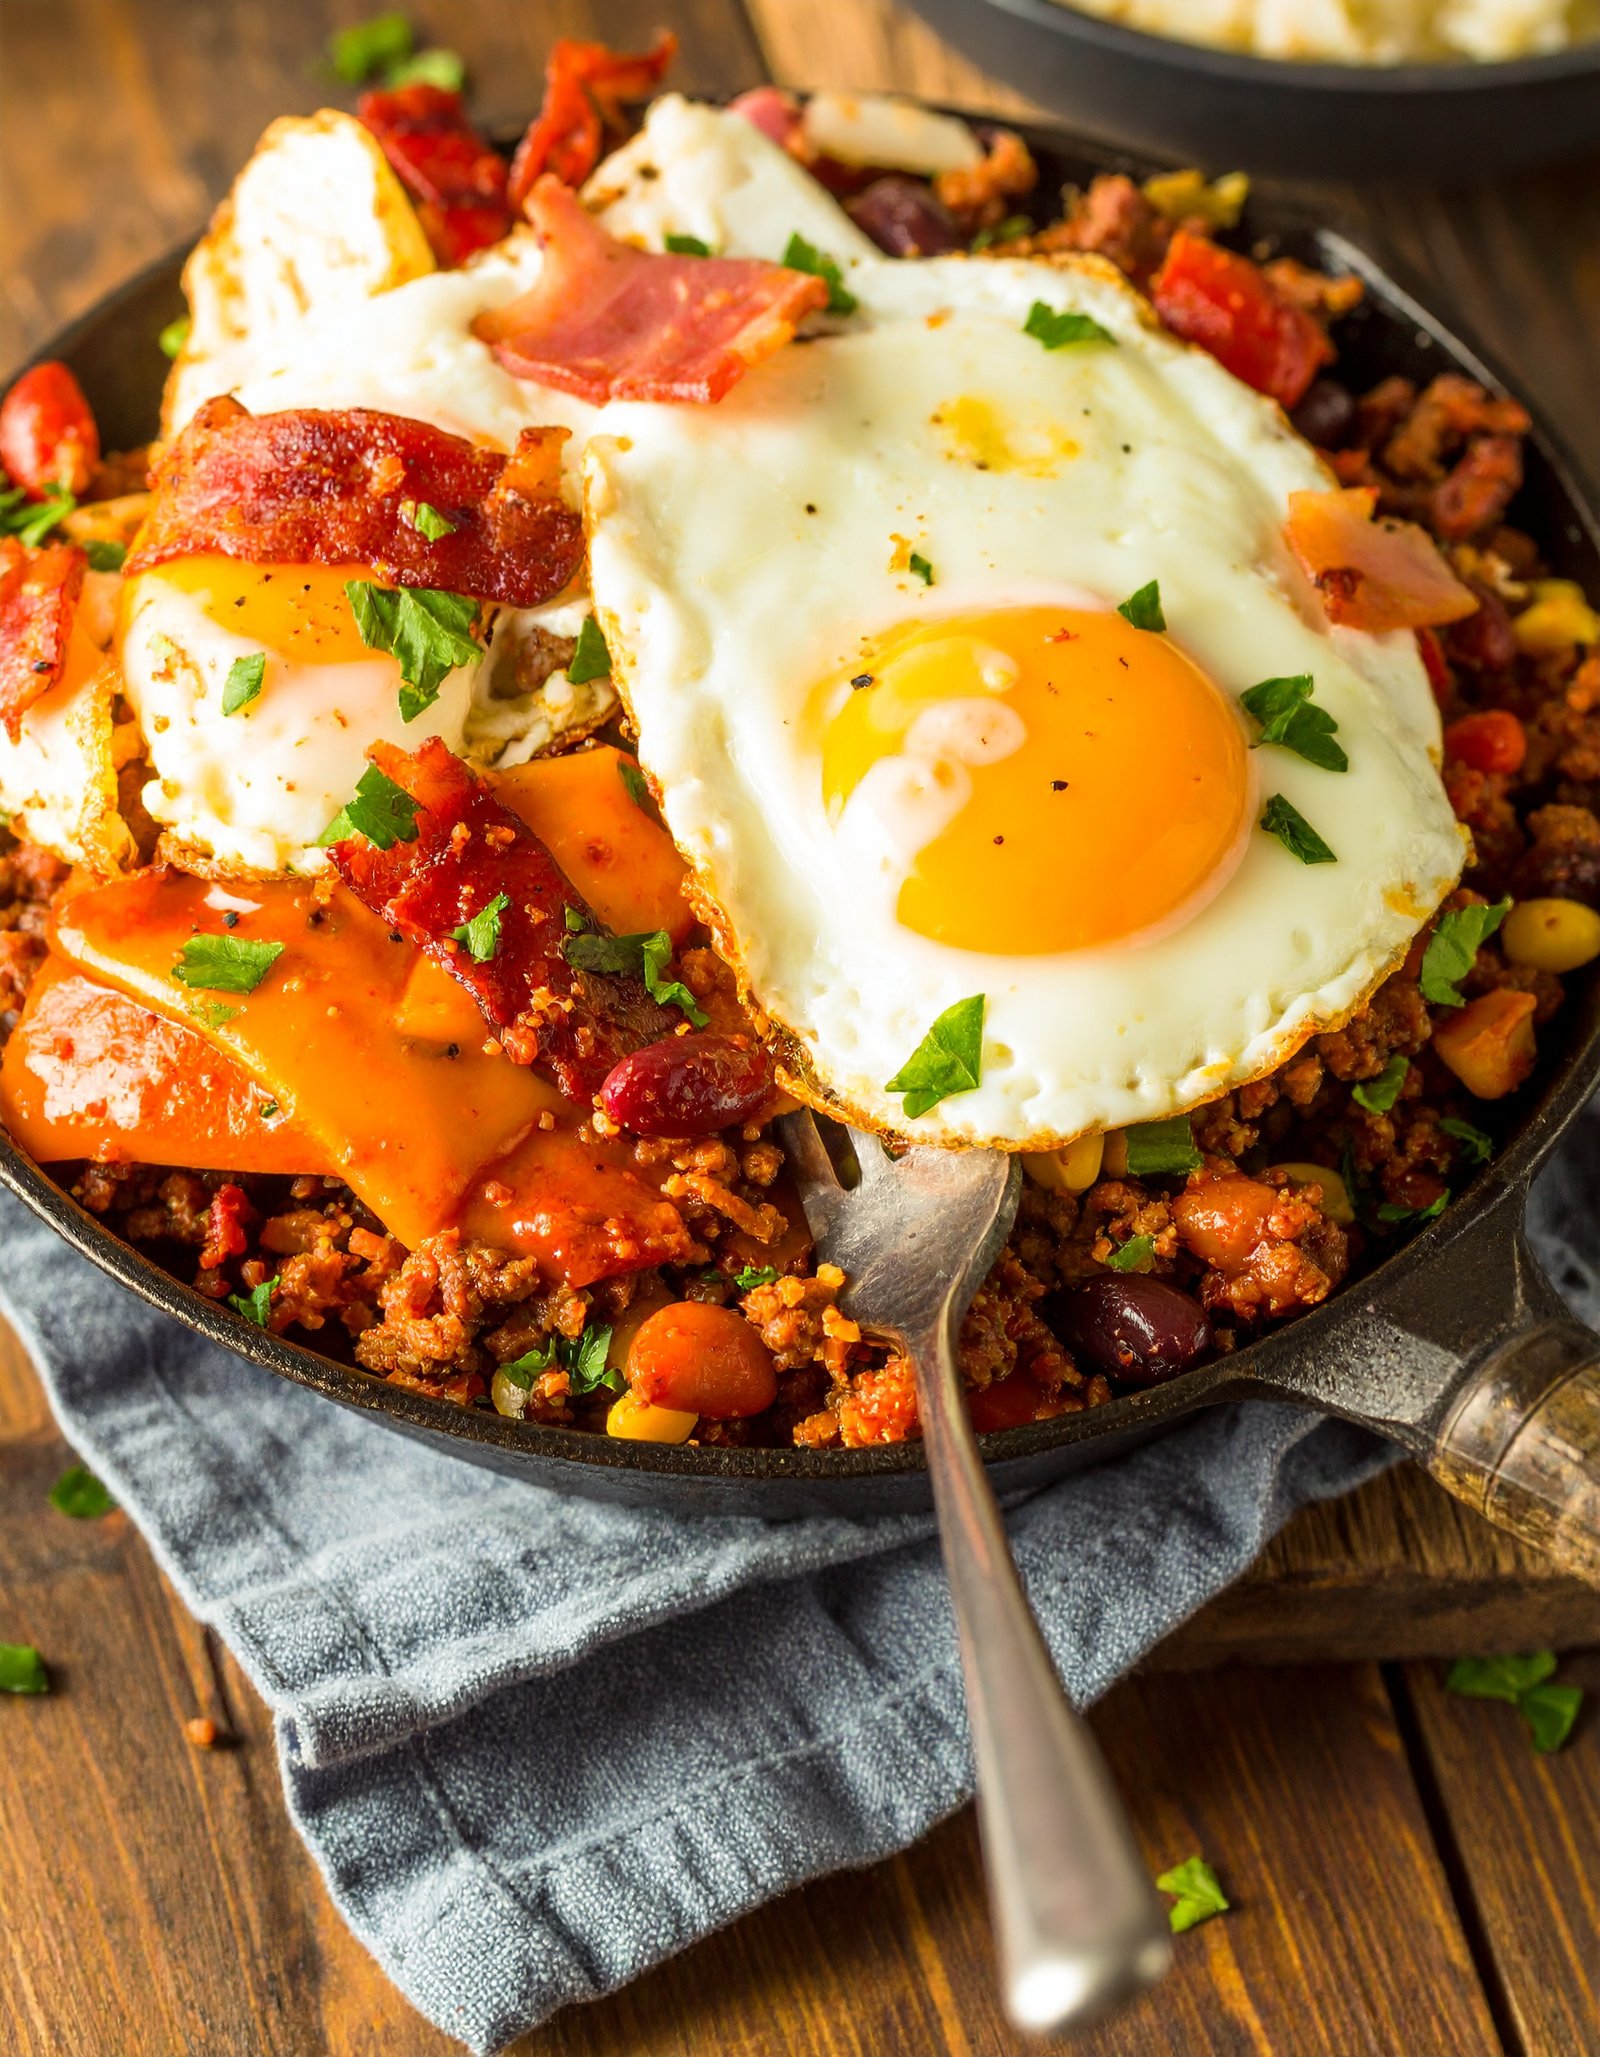
You want fast, hot, and ridiculously satisfying. I get it. I reach for this one-pan ground beef skillet when I want carnivore comfort without a sink full of dishes or a recipe that reads like a tax form. I throw everything in one skillet, I stir like I mean it, and I eat in 20 minutes. Need dinner that punches above its weight? You just found it.
I built this skillet during a busy week when my brain tapped out after lunch. I wanted real food, not cereal. I wanted beef, fat, salt, and zero drama. This recipe delivers every time. Ever meet a meal that shows up, stays humble, and still steals the show? That’s this skillet.
Why This One-Pan Ground Beef Skillet Works
You want reasons? I’ll give you the short list, because you and I both want to eat.
- One pan, zero fuss. I cook everything in a single skillet and clean up in minutes.
- 20-minute finish. I move fast, and this recipe keeps up.
- Big flavor, simple ingredients. I let beef, fat, and salt do the heavy lifting.
- Flexible fat ratio. I use 80/20 for rich flavor, and I tweak the fat to match my appetite.
- Low-carb and keto-friendly. I keep it pure carnivore or add cheese and cream if I feel like it.
- Budget-friendly comfort. I make it with a pound of ground beef and pantry staples.
Ever notice how some “quick” recipes require five bowls and a therapy session? I keep this one honest. I brown, season, sauce (if I want), and serve. That’s it.
Ingredients
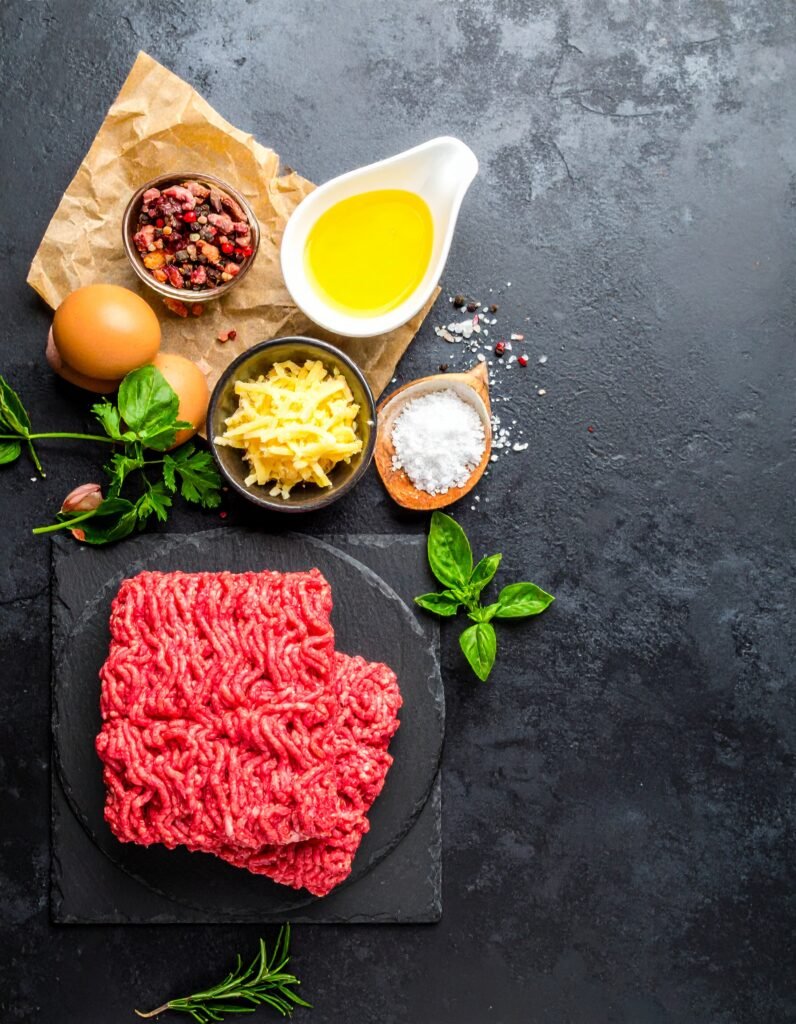
I built the base with three ingredients. Then I riff if the mood hits.
Core Ingredients (Serves 2 hungry humans or 3 reasonable ones)
- 1 lb (450 g) 80/20 ground beef (use 85/15 or 90/10 if you prefer leaner)
- 1 tablespoon butter, tallow, or ghee
- 1 to 1.5 teaspoons kosher salt, to taste
- Freshly ground black pepper, to taste (skip if you go strict carnivore)
Optional (Choose Your Adventure)
- 2–3 tablespoons beef broth or water for a quick pan sauce
- 1–2 tablespoons heavy cream for a silky finish
- 2 ounces shredded cheese (cheddar, provolone, or Gruyère)
- 2 eggs for a hearty finish (I cook them right in the skillet)
- Cooked bacon bits for smoky crunch
- Pinch of garlic powder or onion powder if you allow seasonings
- A few dashes Worcestershire (not strict carnivore, but delicious)
- Fresh herbs to top (optional garnish if you cook for mixed households)
I keep it strict when I want pure carnivore. I add cream and cheese when I want a cozy, diner-style skillet.
Allergen note: This recipe may include dairy and eggs if you use the optional cheese, cream, or eggs. Skip those add-ins for a dairy-free version.
Tools & Setup
You don’t need fancy gear. You just need heat and a pan that means business.
- 12-inch cast-iron skillet: I grab this for deep browning and even heat. It builds flavor like a pro.
- Stainless skillet: I use this when I want fond for a pan sauce. It heats fast and cleans easily.
- Nonstick: I use this if I go super lean or add eggs. It keeps sticking drama at zero.
- Sturdy spatula: I use a flat edge to scrape fond and flip beef.
Cast iron gives the beef a caramelized edge that tastes like happiness. Stainless gives me a saucy finish. I pick based on mood. You do you.
Step-by-Step: Your 20-Minute Game Plan
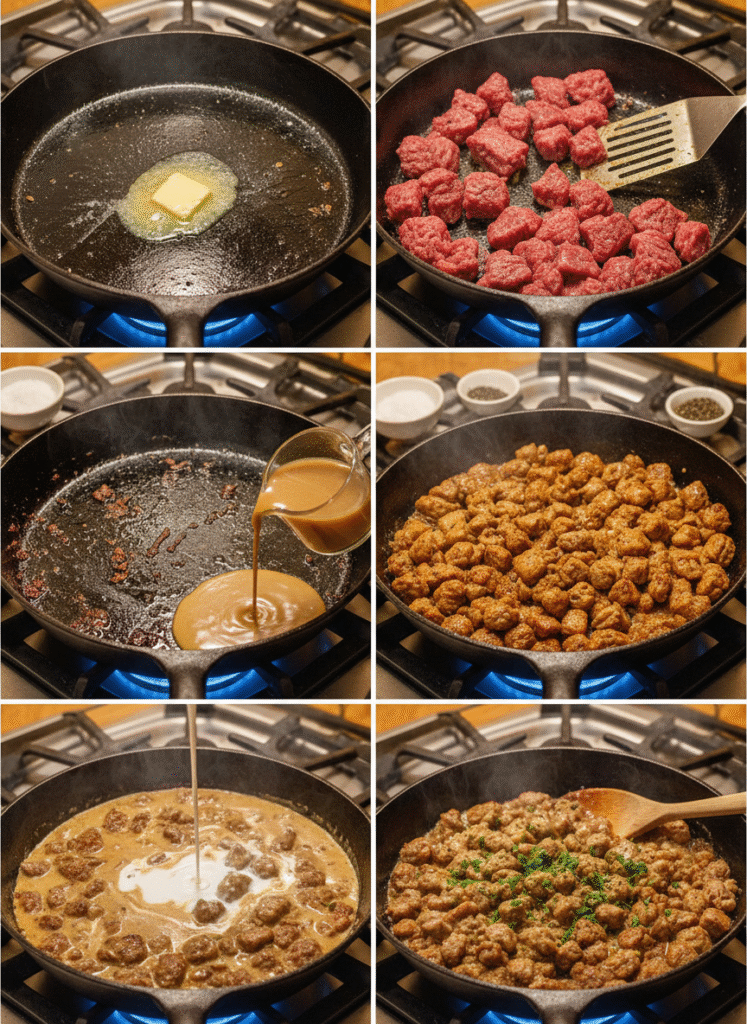
I run this like a mini production. Heat first. Beef next. Finish smart.
Minute 0–2: Heat and Prep
- I place the skillet over medium-high heat.
- I add the butter or tallow and let it melt until it shimmers.
- I pat the ground beef dry if it looks wet. Dry beef browns better. Wild concept, right?
Minute 2–6: Brown the Beef
- I crumble the beef into the hot skillet in big chunks.
- I season with salt right away and let the bottom sear for 2 minutes.
- I break the beef into bite-sized pieces and spread it out. I keep the heat high.
- I let the beef develop deep brown bits. I stir only when I see color.
Ever wonder why restaurant meat tastes better? They actually let it brown. I stole that move at home.
Minute 6–10: Manage Fat and Texture
- I check the fat level. I spoon off excess if the skillet swims, or I keep it if I want richness.
- I taste a bite and add more salt if it needs it.
- I add pepper or a pinch of garlic powder if I go non-strict.
I like juicy beef with a crispy edge. I keep the heat up and use the spatula to scrape any fond.
Minute 10–14: Optional Sauce or Creamy Finish
Pick a lane or keep it dry and gorgeous.
- Quick au jus: I splash in 2–3 tablespoons of beef broth and scrape the fond. I simmer for 1–2 minutes.
- Creamy: I add 1–2 tablespoons heavy cream and simmer until it coats the beef.
- Cheesy: I sprinkle 2 ounces of shredded cheese over the top. I cover for 1 minute to melt.
Minute 14–20: Egg or Bacon Finish
- I push the beef to one side and crack 2 eggs into the open space.
- I drop the heat to medium and cover for 2–3 minutes for runny yolks.
- I scatter bacon bits over the top if I feel extra.
I plate it hot and eat it with a spoon. I use a fork if I want to pretend I behave like an adult.
Pro Tips for Big Flavor
Small moves. Big payoff.
- Start hot. I let the fat shimmer before I add beef.
- Do not over-stir. I let each side brown before I move it.
- Use salt early and late. I season at the start, then I finish to taste.
- Control fat. I drain a little if the beef floods. I add more butter if it looks dry.
- Finish with heat. I let the last minute sizzle to lock in texture.
Ever notice how a final 60-second sizzle wakes up a skillet? That last push makes the meat sing.
Food Safety & Notes
- Cook ground beef to 160°F (71°C) for safety, per USDA/FSIS guidance. I use a quick-read thermometer and check once in the thickest bit. Reference: foodsafety.gov.
- Reheat leftovers to 165°F (74°C). I bring them back to steaming hot.
- Kitchen hygiene matters. I wash hands, boards, and utensils that touch raw beef.
Variations That Still Hit Carnivore Notes
I like options that keep the spirit of the dish intact. These all pass the cozy test.
Cheesy Smash Skillet
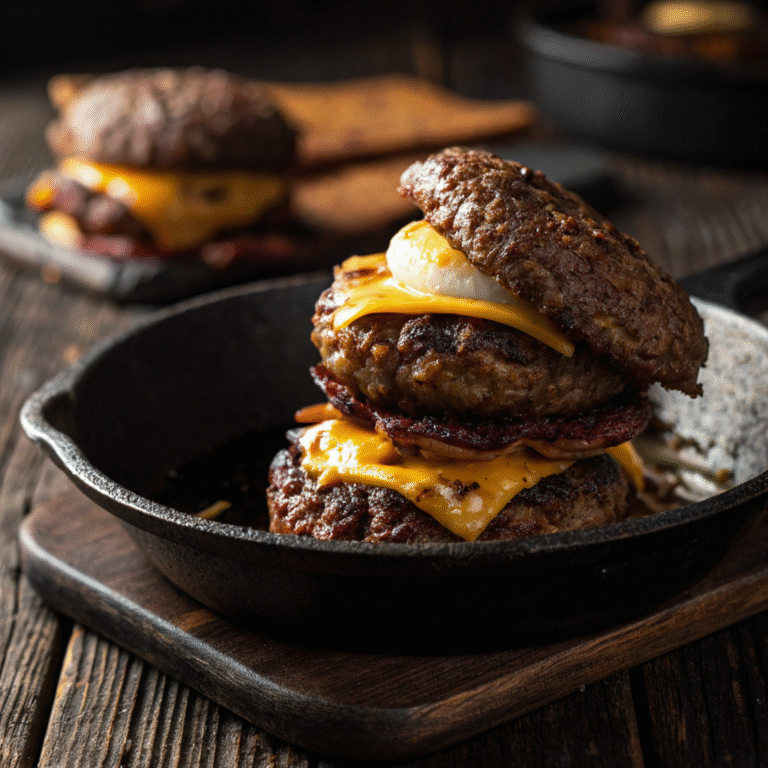
I flatten the beef into a single layer and sear it like a giant smashed patty. I melt provolone on top and spoon the pan juices over. I call it burger night without the bun.
Pepper-Cream Pan
I brown the beef, splash in beef broth, and stir in heavy cream with extra cracked pepper. I simmer to coat. I get creamy steakhouse vibes without a steakhouse bill.
Bacon and Egg Breakfast Skillet
I crisp chopped bacon first, then I cook the beef in bacon fat. I add eggs at the end and shake hot sauce on my portion if I cook for a mixed household.
Bone Marrow Boost
I scoop roasted bone marrow into the skillet during the last minute. I stir to emulsify. The flavor goes primal in the best way.
Ingredient Talk: 80/20 vs 90/10 vs 70/30
I choose the grind based on appetite and goal.
- 80/20: I call this the sweet spot. It browns well and tastes rich. It gives perfect carnivore comfort.
- 90/10: I choose this for extra-lean days. I add butter to keep it juicy.
- 70/30: I use this for maximum flavor. I drain a bit if I want less grease.
Grass-fed tastes beefier and leaner. Grain-finished tastes buttery and classic. I buy what fits the budget and the day. FYI, I rarely lose with a reputable butcher or a store brand with good turnover.
Nutrition and Macros (Base Recipe)
I keep it real with estimates. I base this on 1 lb 80/20 ground beef plus 1 tablespoon butter. I keep all pan juices.
- Whole skillet: about 1,260 calories, 103g fat, 76g protein
- Half skillet: about 630 calories, 51g fat, 38g protein
- Add cheese (2 oz): add ~220 calories, 18g fat, 14g protein
- Add 2 eggs: add ~140 calories, 10g fat, 12g protein
Your numbers shift if you drain fat or use leaner beef. I track by feel and adjust based on goals.
Nutrition disclaimer: I share estimates for convenience. Your numbers vary based on brands, draining fat, and add-ins. Use your preferred calculator if you track closely.
Comparisons: Cast Iron vs Stainless vs Nonstick
I cook this on all three. Each pan plays a role.
- Cast iron: I get deep browning and consistent heat. I choose it when I want crust.
- Stainless: I get killer fond and quick heat control. I use it for pan sauces.
- Nonstick: I use it for convenience and clean eggs. I skip it for high-heat browning.
IMO, cast iron wins for flavor, but stainless gives me the easiest sauce. I rotate based on mood.
Troubleshooting: Quick Fixes
Things happen. I fix them fast.
- Beef looks gray? I crowded the pan. I spread it out and crank the heat for a minute.
- Skillet floods with fat? I spoon out a tablespoon or two and keep going.
- Seasoning tastes flat? I add salt and a small squeeze of lemon to my plate if I go non-strict.
- Cheese clumps? I lower the heat and cover for a gentle melt.
- Eggs overcook? I crack them later and cover for less time.
Ever notice how one teaspoon of salt flips a dish from “meh” to “wow”? I don’t shy away from finishing salt.
Serving Ideas (Strict and Flexible)
I keep the base strict. I serve mixed groups with optional sides.
- Strict: I eat it straight from the skillet. I add eggs or cheese if I want bulk.
- Flexible sides: I serve with a simple salad, roasted mushrooms, or cauliflower mash for non-carnivores.
- Burger bowl style: I top with pickles and mustard for the non-strict crowd.
You control the room. The skillet plays nice either way.
Make-Ahead, Storage, and Reheating
I cook once and eat twice when the week gets busy.
- Fridge: I store leftovers in a tight container for 3–4 days.
- Freezer: I pack portions and freeze for up to 3 months.
- Reheat (stovetop): I warm on medium with a splash of water or broth. I stir until hot.
- Reheat (microwave): I cover loosely and heat in short bursts. I stir between bursts.
- Revive: I add a knob of butter at the end for fresh shine.
I portion into meal-prep containers when I feel organized. I thank past me every time.
Flavor Boosters That Still Keep It Simple
I honor the base and keep the list short.
- Finishing salt: I use flaky salt at the end for texture.
- Beef powder or collagen: I stir a teaspoon into the sauce for body.
- Smoked salt: I cheat a grill vibe without going outside.
I keep these in a small pantry basket. I grab them when I want a little extra without going off-plan.
One‑Pan Ground Beef Skillet (20 Minutes)
Ingredients
Equipment
Method
- Heat skillet: Set a 12‑inch skillet over medium‑high. Add butter/tallow and heat until shimmering (1–2 minutes).
- Start the sear: Crumble in ground beef in big chunks. Season with salt. Let the bottom sear undisturbed for ~2 minutes.
- Brown: Break into bite‑size pieces, spread out, and let deep browning develop. Stir only when you see color (2–4 minutes).
- Manage fat: If the pan floods, spoon off a little; if dry, add a bit more fat. Taste and adjust salt. Add pepper/garlic powder if using.
- Optional sauce/cream: For au jus, splash in 2–3 tbsp broth/water and scrape fond; simmer 1–2 minutes. For creamy, add 1–2 tbsp cream and simmer until lightly coats.
- Cheesy: Sprinkle 2 oz cheese over beef; cover 1 minute to melt.
- Eggs (optional): Push beef to one side, crack in 2 eggs; reduce heat to medium, cover 2–3 minutes until whites set and yolks are runny.
- Doneness & serve: Cook beef to 160°F (71°C) internal (USDA). Finish with salt to taste. Serve hot from the skillet.
- Notes (paste)
- Food safety: Ground beef should reach 160°F (71°C). Reheat leftovers to 165°F (74°C).
- Fat ratio: 80/20 = rich and juicy; 90/10 = lean—add butter; 70/30 = max flavor—spoon off excess.
- Pan choice: Cast iron = deepest browning; stainless = great fond/sauce; nonstick = easiest with eggs/lean beef.
- Variations:
- Cheesy Smash Skillet—press into one layer like a giant smashed patty; melt provolone on top.
- Pepper‑Cream Pan—beef broth + cream + extra cracked pepper; simmer to coat.
- Bacon & Egg Breakfast—crisp bacon first, cook beef in bacon fat, finish with eggs.
- Bone Marrow Boost—stir in roasted marrow in the last minute.
- Troubleshooting: Gray meat? Pan is crowded—spread and crank heat. Too greasy? Spoon off a bit. Cheese clumping? Lower heat and cover to gently melt. Eggs overcook? Add later and cover less time.
- Storage: Fridge 3–4 days; freeze up to 3 months.
- Reheat: Medium heat with a splash of water/broth until steaming; or microwave in short bursts.
- Allergen note: Contains dairy/eggs if you add cheese, cream, or eggs—skip for dairy‑free.
- Nutrition (per serving, ~1/3 of skillet; estimate)
Notes
Frequently Asked Questions
Can I use frozen ground beef?
Yes. I thaw it overnight in the fridge when possible. I thaw fast in cold water if I need speed. I avoid cooking from frozen to keep browning strong.
What if I only have lean ground beef?
I add butter or tallow during the browning phase. I keep the heat high and avoid over-stirring to build a crust.
How do I scale this for four people?
I use a larger skillet or I cook in two rounds. I give the beef room so it browns, not steams.
Can I make this dairy-free?
Yes. I skip butter and use tallow. I skip cheese and cream. I still get big flavor from beef and salt.
How do I keep the eggs runny?
I crack them near the end, and I cover for 2–3 minutes. I pull them when the whites set and the yolks still wobble.
The 30-Second Version (So You Can Cook Now)
- Heat a 12-inch skillet over medium-high heat with 1 tablespoon butter.
- Add 1 lb 80/20 ground beef, salt, and pepper (optional). Brown hard.
- Check doneness with a thermometer and hit 160°F (71°C).
- Spoon off extra fat if you want. Keep some for flavor.
- Optional: Splash beef broth and/or heavy cream. Reduce slightly.
- Top with cheese or crack in 2 eggs. Cover to melt or set.
- Taste and finish with salt. Eat hot and happy. 🙂
What Makes This One-Pan Ground Beef Skillet Special?
I respect ingredients and time. I let heat do honest work. I aim for simple steps, clean flavor, and comfort you feel. I cook this skillet when I want a no-brainer dinner that still tastes like I tried. Ever crave a meal that hugs you without judging your calendar? This skillet shows up every single time.
Final Bite
You now own a one-pan ground beef skillet that brings carnivore comfort in 20 minutes. You can keep it strict, add cheese, crack eggs, or splash cream. You can feed yourself well on a Tuesday and still shut the kitchen by 7. I say you bookmark this, cook it once, and tweak it until it feels like your house dish. Then you teach a friend, because good food loves company.